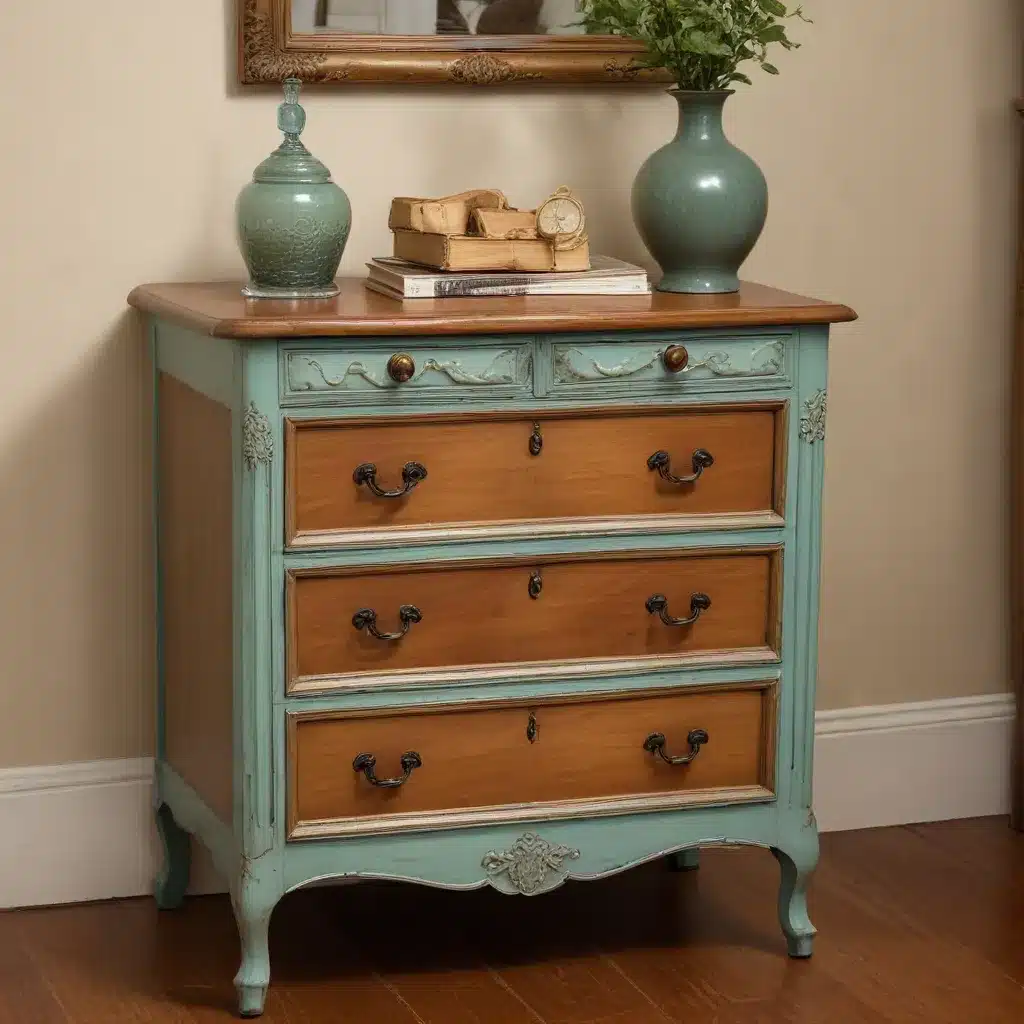
Unlocking the Beauty of the Past
As a seasoned construction professional and interior designer, I’ve had the privilege of witnessing the transformation of countless pieces of antique furniture. Restoring the vintage charm of these timeless treasures is not just a job – it’s a passion that allows me to breathe new life into the stories of the past. In this comprehensive guide, I’ll share my expertise on authentic refinishing techniques that will help you recapture the essence of your prized antique furnishings.
Assessing the Piece
Before embarking on your refinishing journey, it’s crucial to thoroughly inspect the piece and understand its current condition. This step is often overlooked, but it can make all the difference between a successful restoration and a frustrating project.
Begin by closely examining the furniture for any damages, scratches, or imperfections. Note areas that may require special attention during the refinishing process. It’s important to be realistic about the level of work required and weigh the potential rewards against the time and effort involved.
Additionally, identify the type of wood and the existing finish. Different wood species may respond better to certain treatments, and knowing the current finish will help you choose the appropriate stripping and refinishing methods. Be cautious when dealing with wood veneers, as the process differs from working with solid wood furniture.
Stripping the Original Finish
Removing the old finish is the first step towards uncovering the true beauty of your antique piece. There are several methods you can use to accomplish this task:
Sanding: This is a common technique that involves using sandpaper to gradually remove the existing finish. Start with coarse-grit paper and gradually work your way to finer grits for a smooth surface. You can sand by hand or use an electric sander, but the latter requires more skill and experience.
Chemical Strippers: These products are effective for removing old paint or varnish. Simply apply the stripper, wait for it to loosen the finish, and then scrape it off with a putty knife. Be aware that chemical strippers can be messy and potentially hazardous, so it’s essential to follow safety guidelines.
Heat Guns: Applying heat can soften and loosen the old finish, making it easier to remove. However, this method requires caution to avoid damaging the underlying wood, especially on pieces with veneers.
Whichever method you choose, be sure to thoroughly clean the surface after stripping to remove any residual dust or debris before moving on to the next step.
Sanding and Preparing the Surface
Once the original finish has been removed, it’s time to prepare the surface for the new treatment. Sanding is a critical step in achieving a smooth, pristine finish. Start with a coarse grit and gradually work your way up to finer sandpaper, taking care to wipe down the surface frequently to remove any dust.
Remember, the quality of your sanding will directly impact the final result, so don’t skimp on this important step. Proper surface preparation is the foundation for a successful refinishing project.
Staining or Painting: Choosing the Right Finish
Deciding between staining or painting your antique furniture can be a personal choice, and both options have their own merits. Staining enhances the natural beauty of the wood, allowing the grain to shine through, while painting provides more creative freedom and the opportunity to completely transform the piece.
If you opt for staining, be sure to follow the manufacturer’s instructions carefully and apply the product evenly for a consistent finish. For painting, consider a paint-wash technique, which allows the wood grain to show through a semi-transparent layer of color.
Regardless of your choice, always apply a protective sealant or varnish to safeguard your hard work and ensure the longevity of the refinished piece.
Personalized Touches
Now that your furniture is beautifully refinished, it’s time to add those final personal touches that will truly make it your own. If you disassembled any parts of the piece, be sure to reassemble them correctly, ensuring a seamless fit.
Consider adding new hardware, decorative elements, or even a fresh coat of paint on the interior of drawers or shelves. These small details can significantly enhance the overall aesthetic and make your antique piece truly unique.
Patience and Perseverance
Refinishing antique furniture is not a quick or easy task, but the rewards are well worth the effort. Embrace the process and approach each project with patience and care. Remember, this is an opportunity to create something truly special – a one-of-a-kind piece that will not only beautify your space but also honor the craftsmanship and history of the past.
As you embark on your refinishing journey, keep in mind that practice and experience are the keys to honing your skills. Each project you tackle will teach you something new and help you build the confidence to tackle even more challenging pieces in the future.
So, whether you’re restoring a family heirloom or transforming a thrifted find, approach the process with a spirit of adventure and a dedication to preserving the stories of the past. Your efforts will not only breathe new life into your antique furnishings but also create lasting memories and cherished keepsakes for generations to come.
Ready to get started on your own vintage furniture transformation? Be sure to check out the local builder London website for more resources and inspiration to guide you through the process. Happy refinishing!


